Ink Panels
My ultra personal e-ink dashboard.
Sometimes all you need is an excuse
I’ve been fascinated with e-ink technology since I saw a Kindle live for the first time, which I believe happened in 2012 but don’t quote me on that.
Seeing that screen that does not look like a screen – no glare, no backlight, a bit of grain – mesmerised me. And being able to display large images without consuming power to maintain them on, on a day where battery life is a strong limiter of how portable devices can be, is technologically awesome.
Naturally, I’ve wanted to build something using e-ink displays for quite some time. But I didn’t really have a concrete use case in mind.
Then I saw TRMNL, which is a great non-ebook reader e-ink application, and it brought that itch to build something back.
Sure, I could buy one. Or – hear me out – I could make one and tailor it to my preferences.
I had just found the excuse.
So many options
There’s a myriad of e-ink displays on the market. There are small ones, big ones, and even medium ones. And some of them can display colour!
Larger panels are considerably more expensive past a certain size. So I decided to combine two of them to make a larger device. Thus, the first iteration of Ink Panels was born.
Using a 3-colour panel (black, white and red) on the top and a standard black-and-white on the bottom, and a single ESP-32 C6 to drive them both, I set out to build something I’d find useful.
I didn’t want this to be just a device, I wanted it to be part of my home. I assembled the panels on inside an IKEA frame and hid the electronics behind them. With a USB power bank hidden behind everything, I had a wire-free device to hang on my hallway wall.
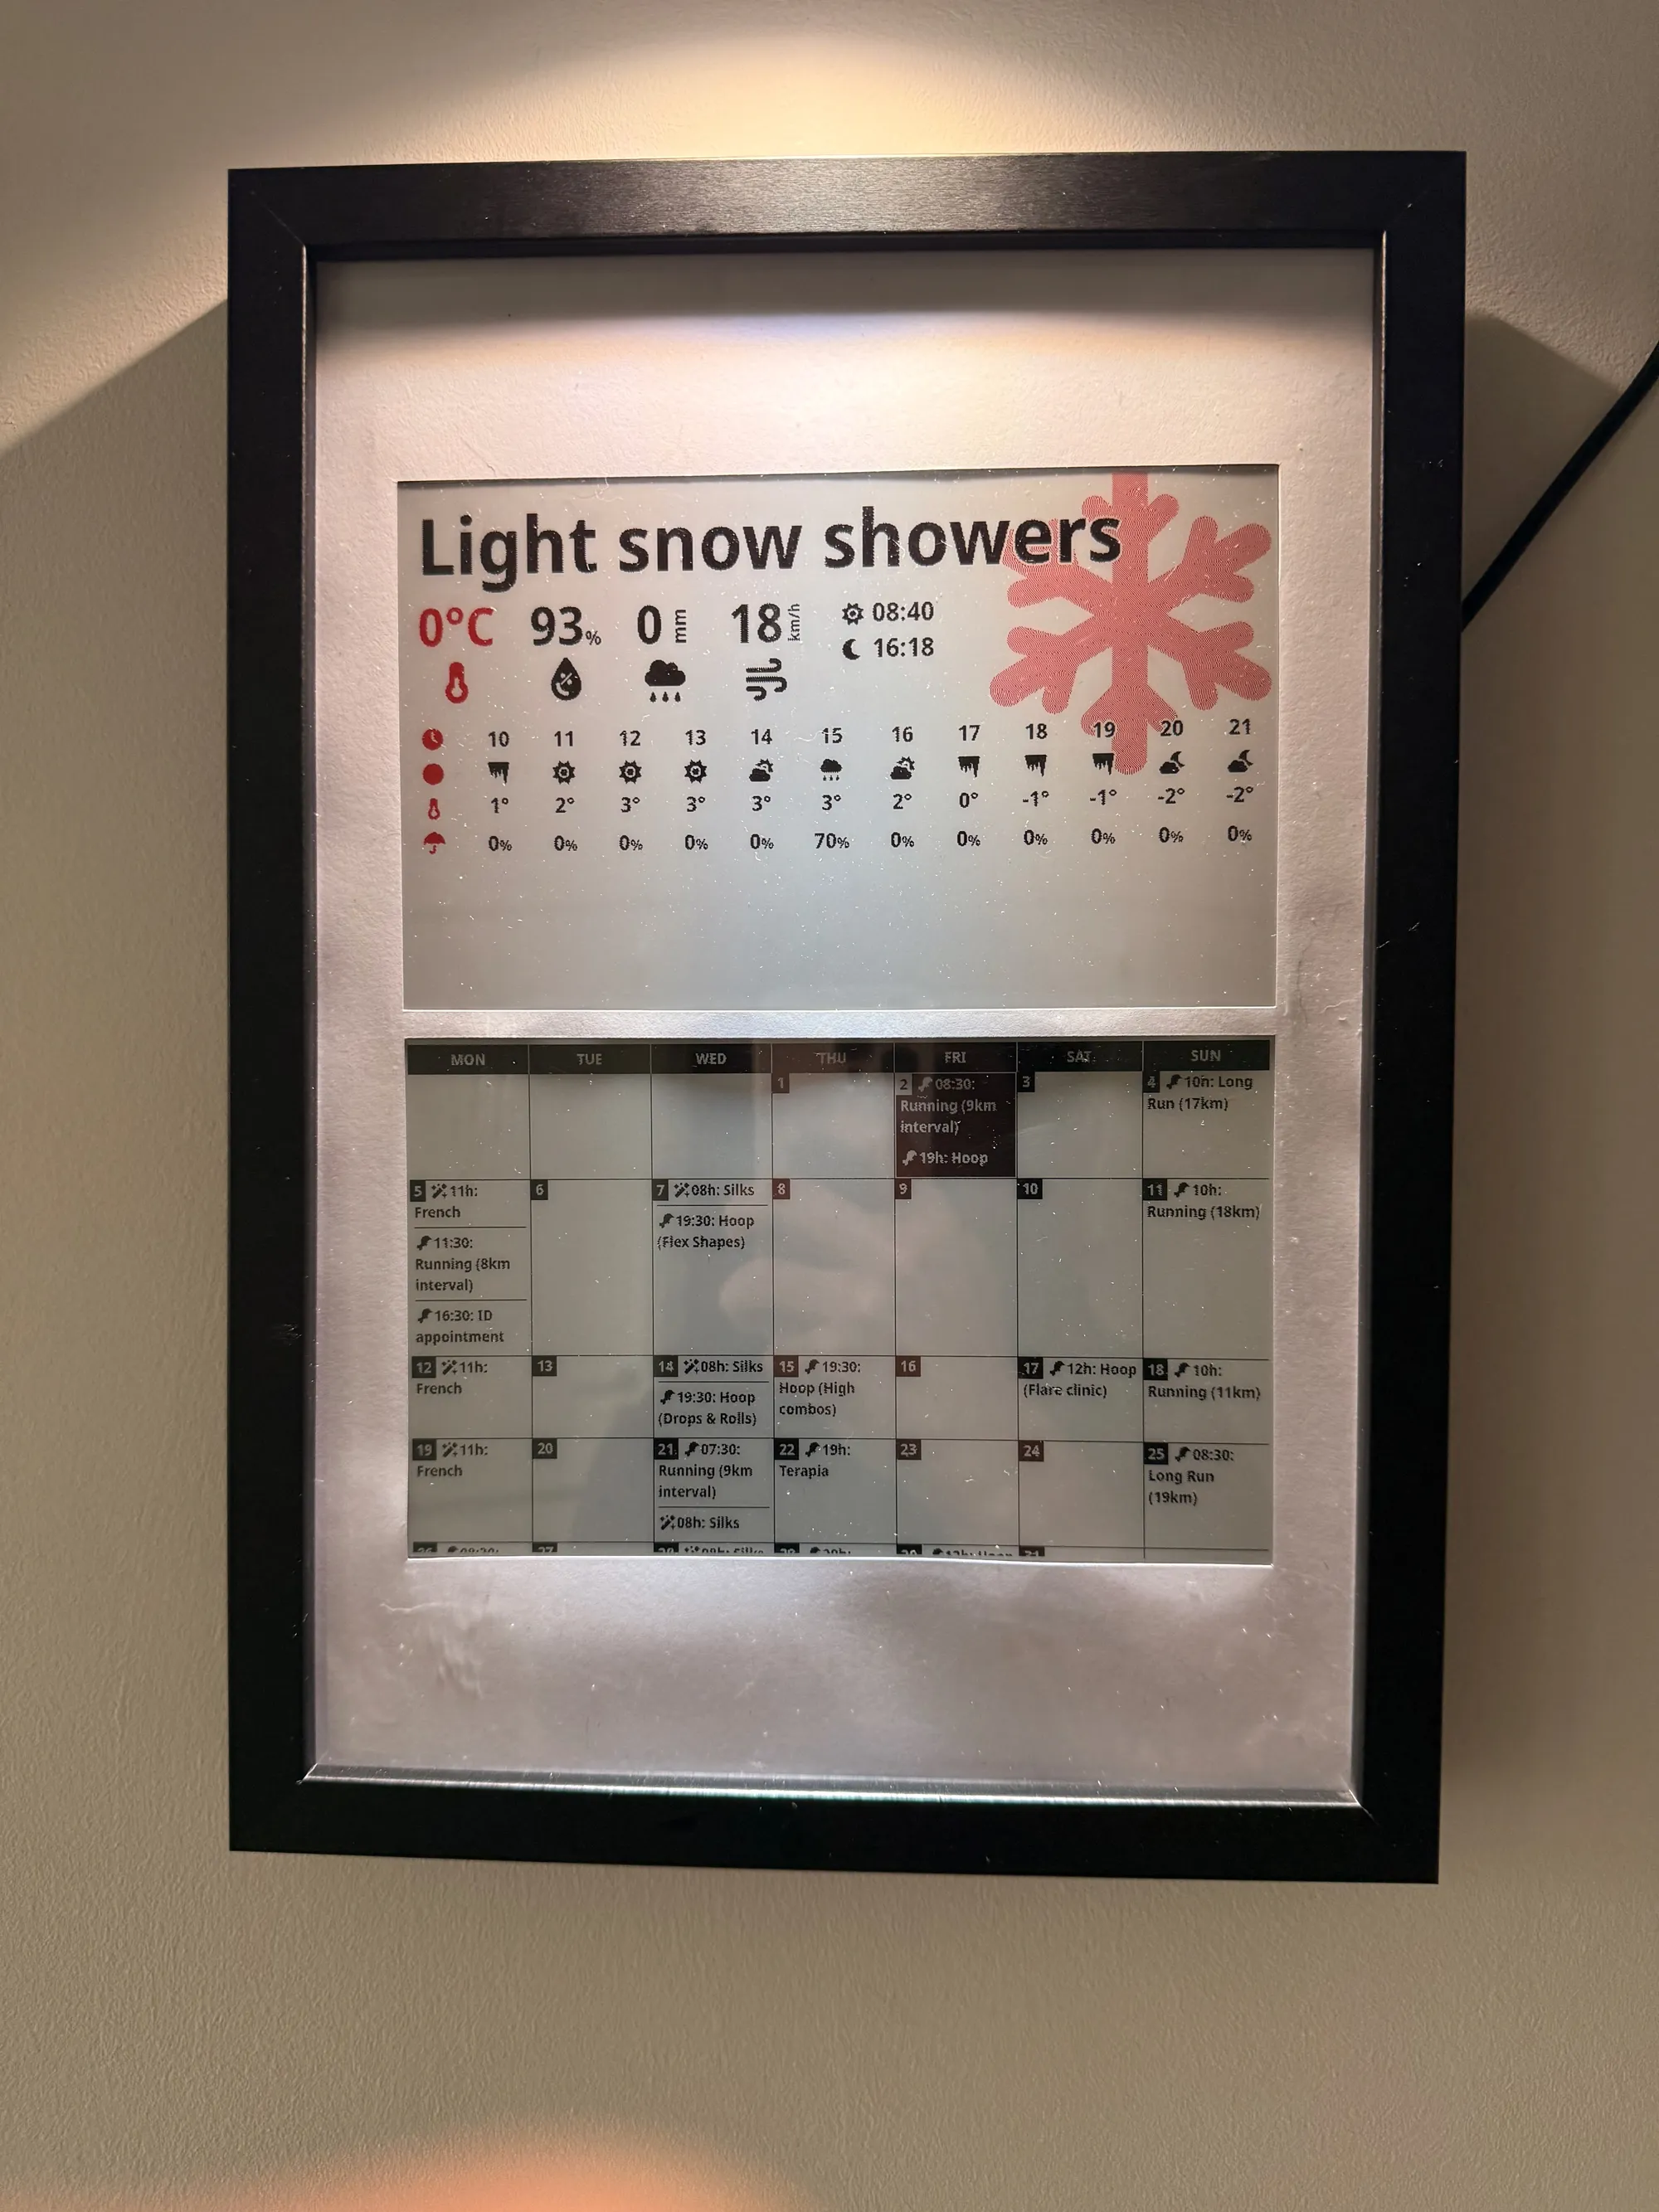
Ink Panels on the wall, showing a weather forecast and a calendar.
Making it work
I want these devices to need a little recharging as possible, so I made them simple and energy efficient.
When the device turns on, it connects to a Wi-Fi network and looks for a webserver – the details of which are baked in their programming. They send a request to the server that asks for the image data they need to display.
Each panel identifies its capability (screen size, colour capabilities) and the server replies with a bitmap encoded specifically for them. The response also includes two headers: one which tells the device when it should request an updated image, and another with an e-tag used for caching.
The device then goes to deep sleep, setting a wake up timer based on when the server requested an update check. In this case, as there are two displays, it uses the shortest delay of the two.
Next time the device wakes up, it will request images again, but also pass the previous e-tag as a request header. The server then decides to either send a new image data payload or just tells the device to keep the same image and come back again later.
The server is the brain
The Ink Server is a Bun server and React app. I’ve chosen these because, as it is a recurring theme on these projects, I know them well so I can get something working really fast and iterate.
The React application host a normal HTML and CSS interface that is mindful of its colour usage. It connects to multiple relevant APIs such as a Google Calendar, Weather data, and other sources of data I want to display.
Each of these sources can be used in “apps”, which are just full-screen visualisations that query these APIs.
Then, there’s a set of displays defined on the server. These have IDs that match the display ID sent by the device on each image request.
When such a request arrives, the server uses Puppeteer to run the React app on a headless browser, screenshot it, and process it into the bitmap format the server expects.
A hash of all the API data used for that particular request is used to compute the e-tag.
This setup made it super easy to test the flow all the way to image generation, without needing to have the devices always on hand. Defining a clear interface between device and server meant I could work on each independently, depending on what I felt like doing each day.
I had to get another one
Black and white panels are the most common e-ink displays because they are simpler and, in general, perform better. Colour options do exist but, the ones accessible to normal people like you and me, take way longer to update (and flash a lot in the process).
Having a black and white and a 3-colour was a nice balance as I could update them at different frequencies.
But there’s also a full-ish colour panel! With 6 colours and some clever dithering, there’s a lot that can be achieved.
So I got one as well, and made a second device just with it. This one rests in a picture frame on my desk, which means it can stay constantly plugged in and update more frequently if the server so decides.
It works exactly the same as the other ones – it has the same code running in it as well, just with a different display ID for the periodic HTTP request.
For now, this is my desktop Pokédex. Every 30 minutes, it shows a different Pokémon, which a small chance of it being shiny. Data is pulled from the PokéAPI.
I have some more ideas for it, but these will have to wait until later.
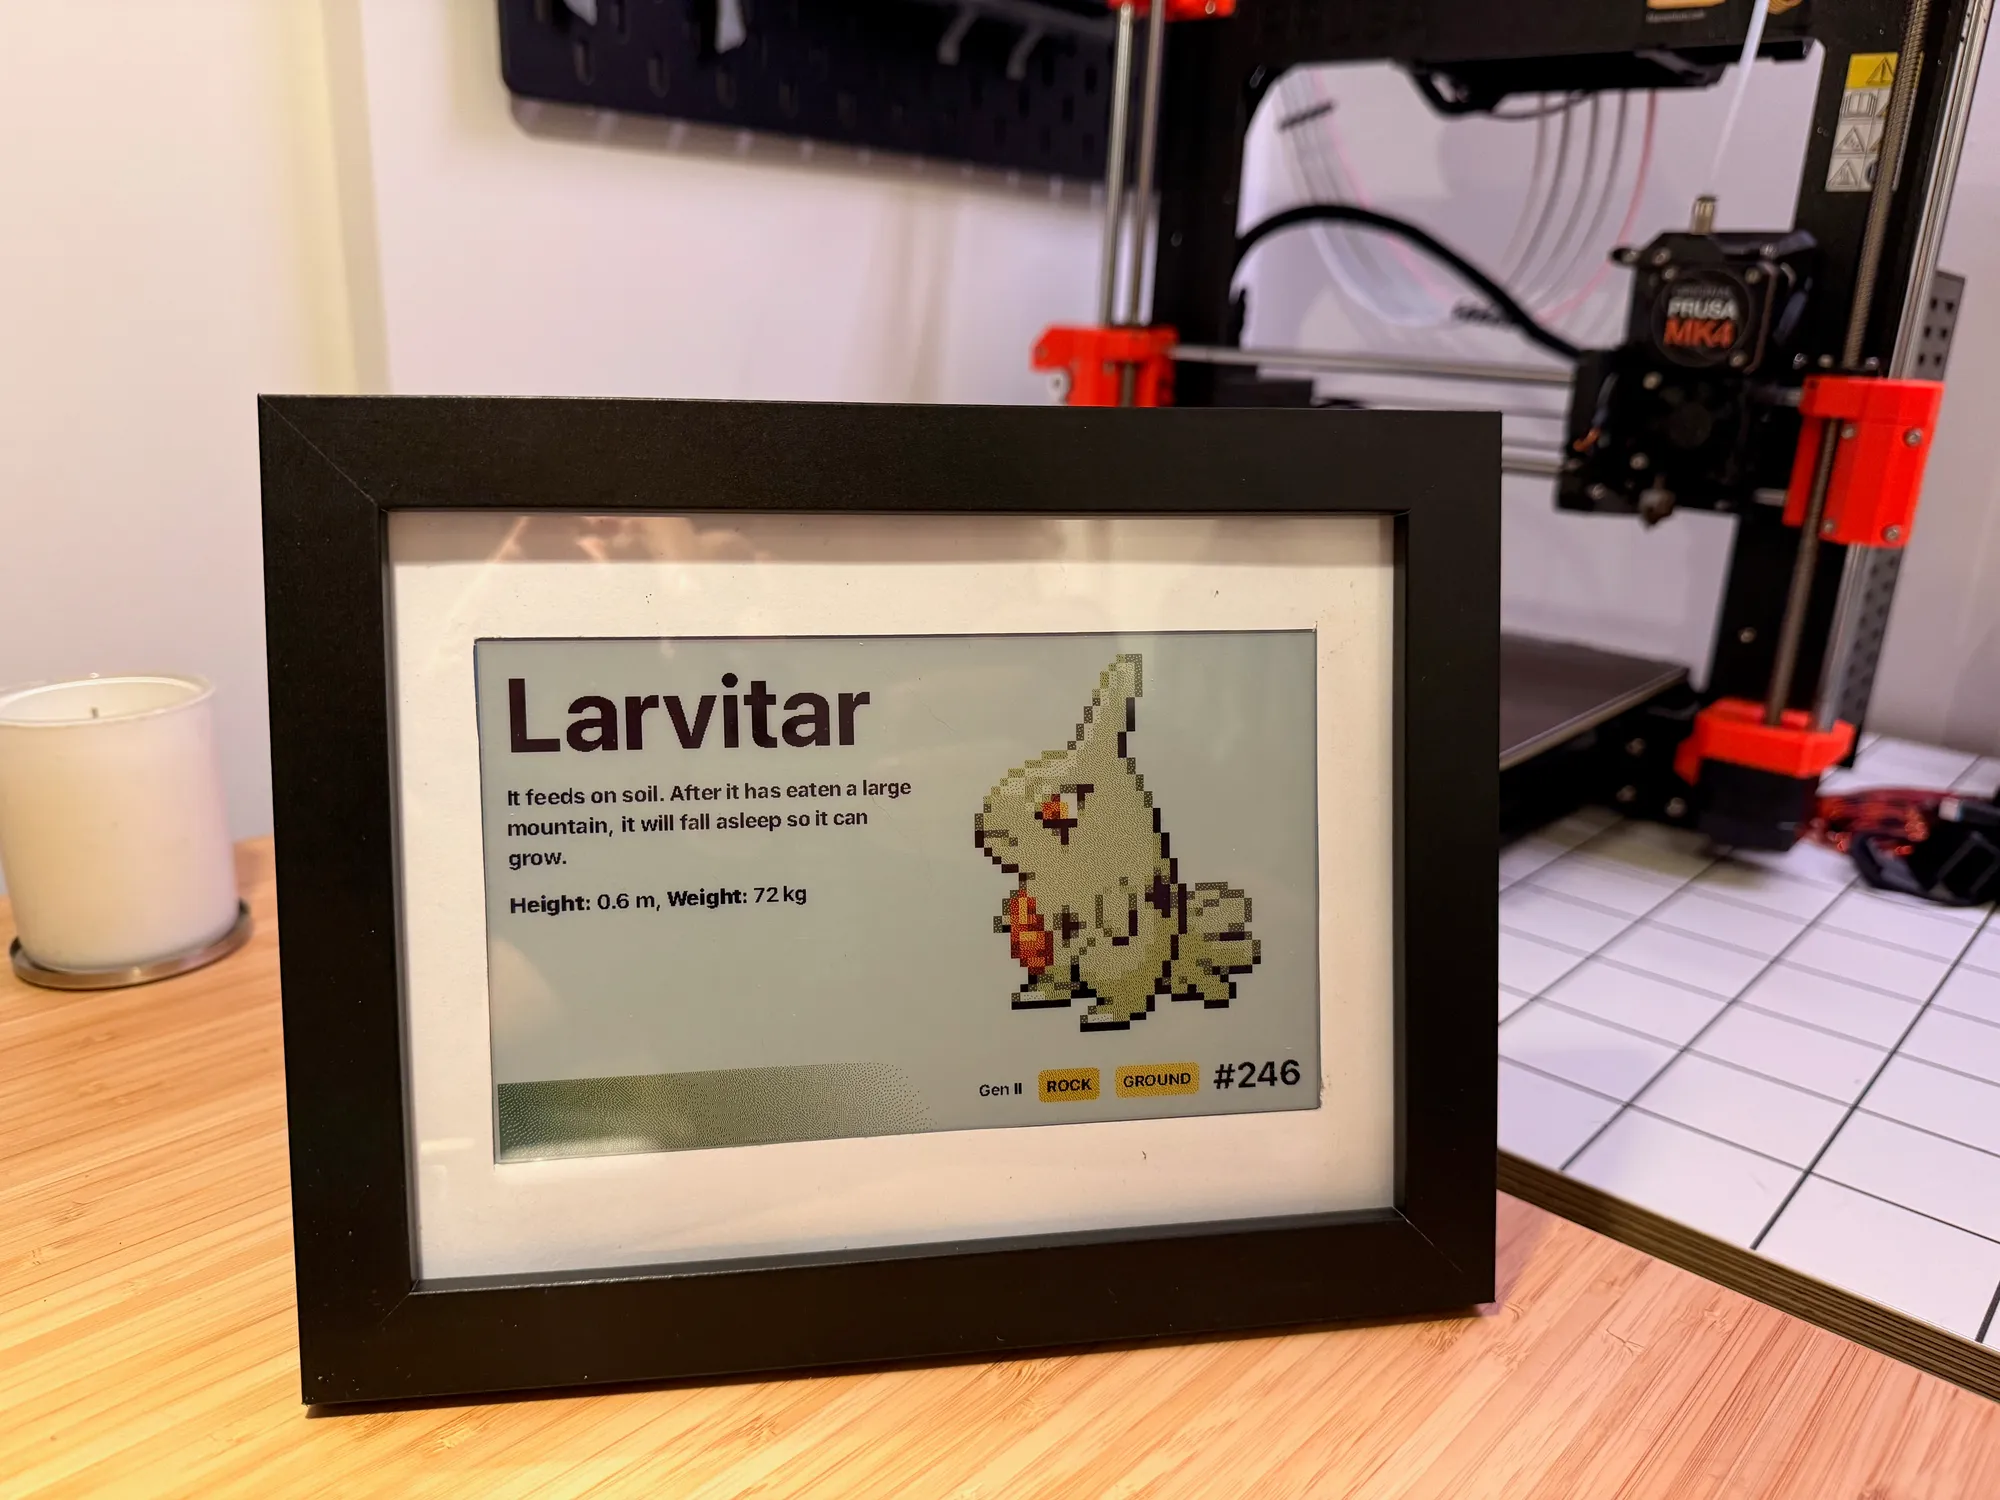
The 6-colour panel showing a random Pokémon.