Swan KB
Split ergonomic keyboard, designed and built from scratch.
Keyboards are cool
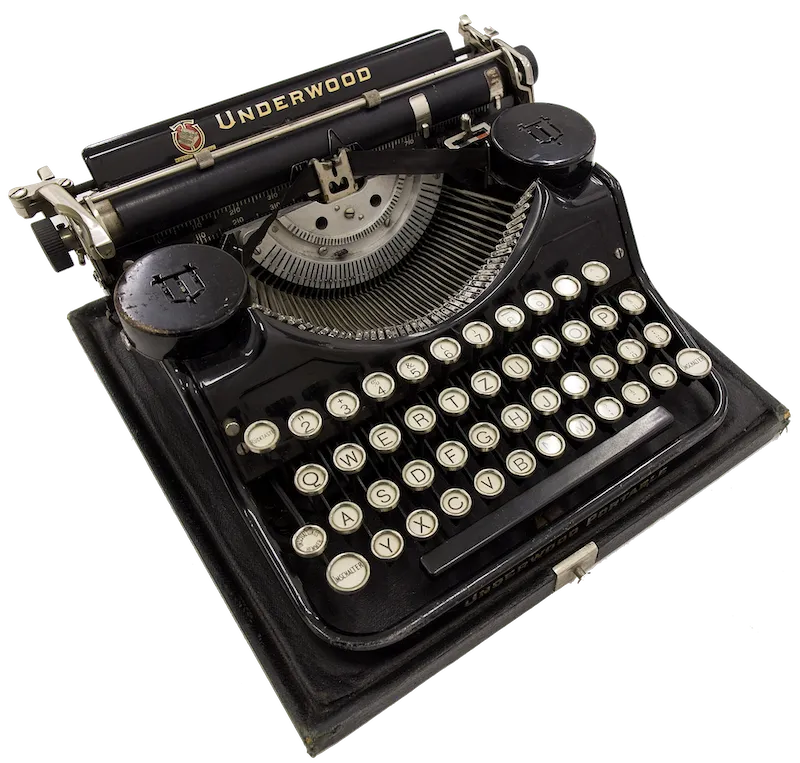
The history of keyboards goes back to the 19th century, with the invention of the typewriter.
With the invention of computers, the format was adapted to the new technology, but most of the design remained the same.
Fast-forward to today, keyboards are the main input interface for most devices we use. Be it physical or virtual, they are still everywhere.
The ergonomic transformation
Due to its connection to typewriters, the standard keyboard layout was arguably optimised for their mechanical limitations.
As keyboards evolved and people used them for longer periods of time every day, a niche of more ergonomic-focused keyboards emerged. These are designed to reduce strain on the hands and wrists.
A popular pattern on these keyboards is the split design, where the keyboard is cut in half. This allows each half to be positioned in line with the natural position of one’s arms, allowing for a more comfortable typing experience – after the initial learning curve, which can be steep.
My end game
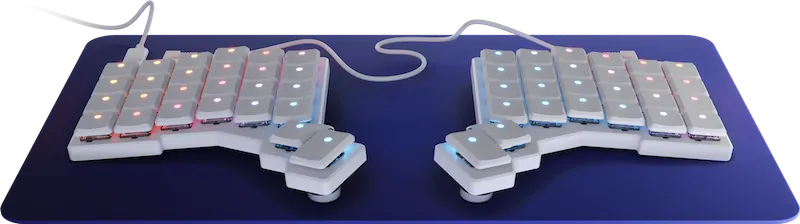
I’ve used a few mechanical and ergonomic keyboards over the years. Some of them were very close to perfect to me, most notably the ZSA Voyager, but I always felt like there was something missing. Something that would make it perfect for me.
In the vein of “I can make it myself with worse quality and more expensively”, I set out to design and build my own keyboard. Swan KB was born.
First iteration: ortholinear design
Traditional keyboards have staggered rows and columns. People learned to work within this layout, but it is not the most optimal for finger movement.
Ortholinear keyboards have a straight grid layout, which means the distance between keys is the same in all directions. I decided to experiment with this design for my first custom-made keyboard.
Part of the fun was designing my first ever custom PCB. I used KiCAD to design the schematic and layout, and JLCPCB to manufacture it. I was a fully symmetric board, so both halves were identical, which made the design and manufacturing process easier.
With 6 columns and 4 rows per side, plus 2 rotary encoders and an OLED display (because why not?), Swan KB MK1 was a fun device to build and to use.
I designed and 3D printed a case for it. As with all 3D modelling projects, there were a few iterations until it worked well. I also tested multiple keycaps and rotary encoder knobs I found online until settling on the ones you can see in the pictures below.
But the minute I finished it – actually, while I was still soldering the last components – I knew there were changes I’d like to make. Changes that, until having a physical device in my hands, I hadn’t thought about. For example, I had no mounting holes on the PCB to affix it to the case!
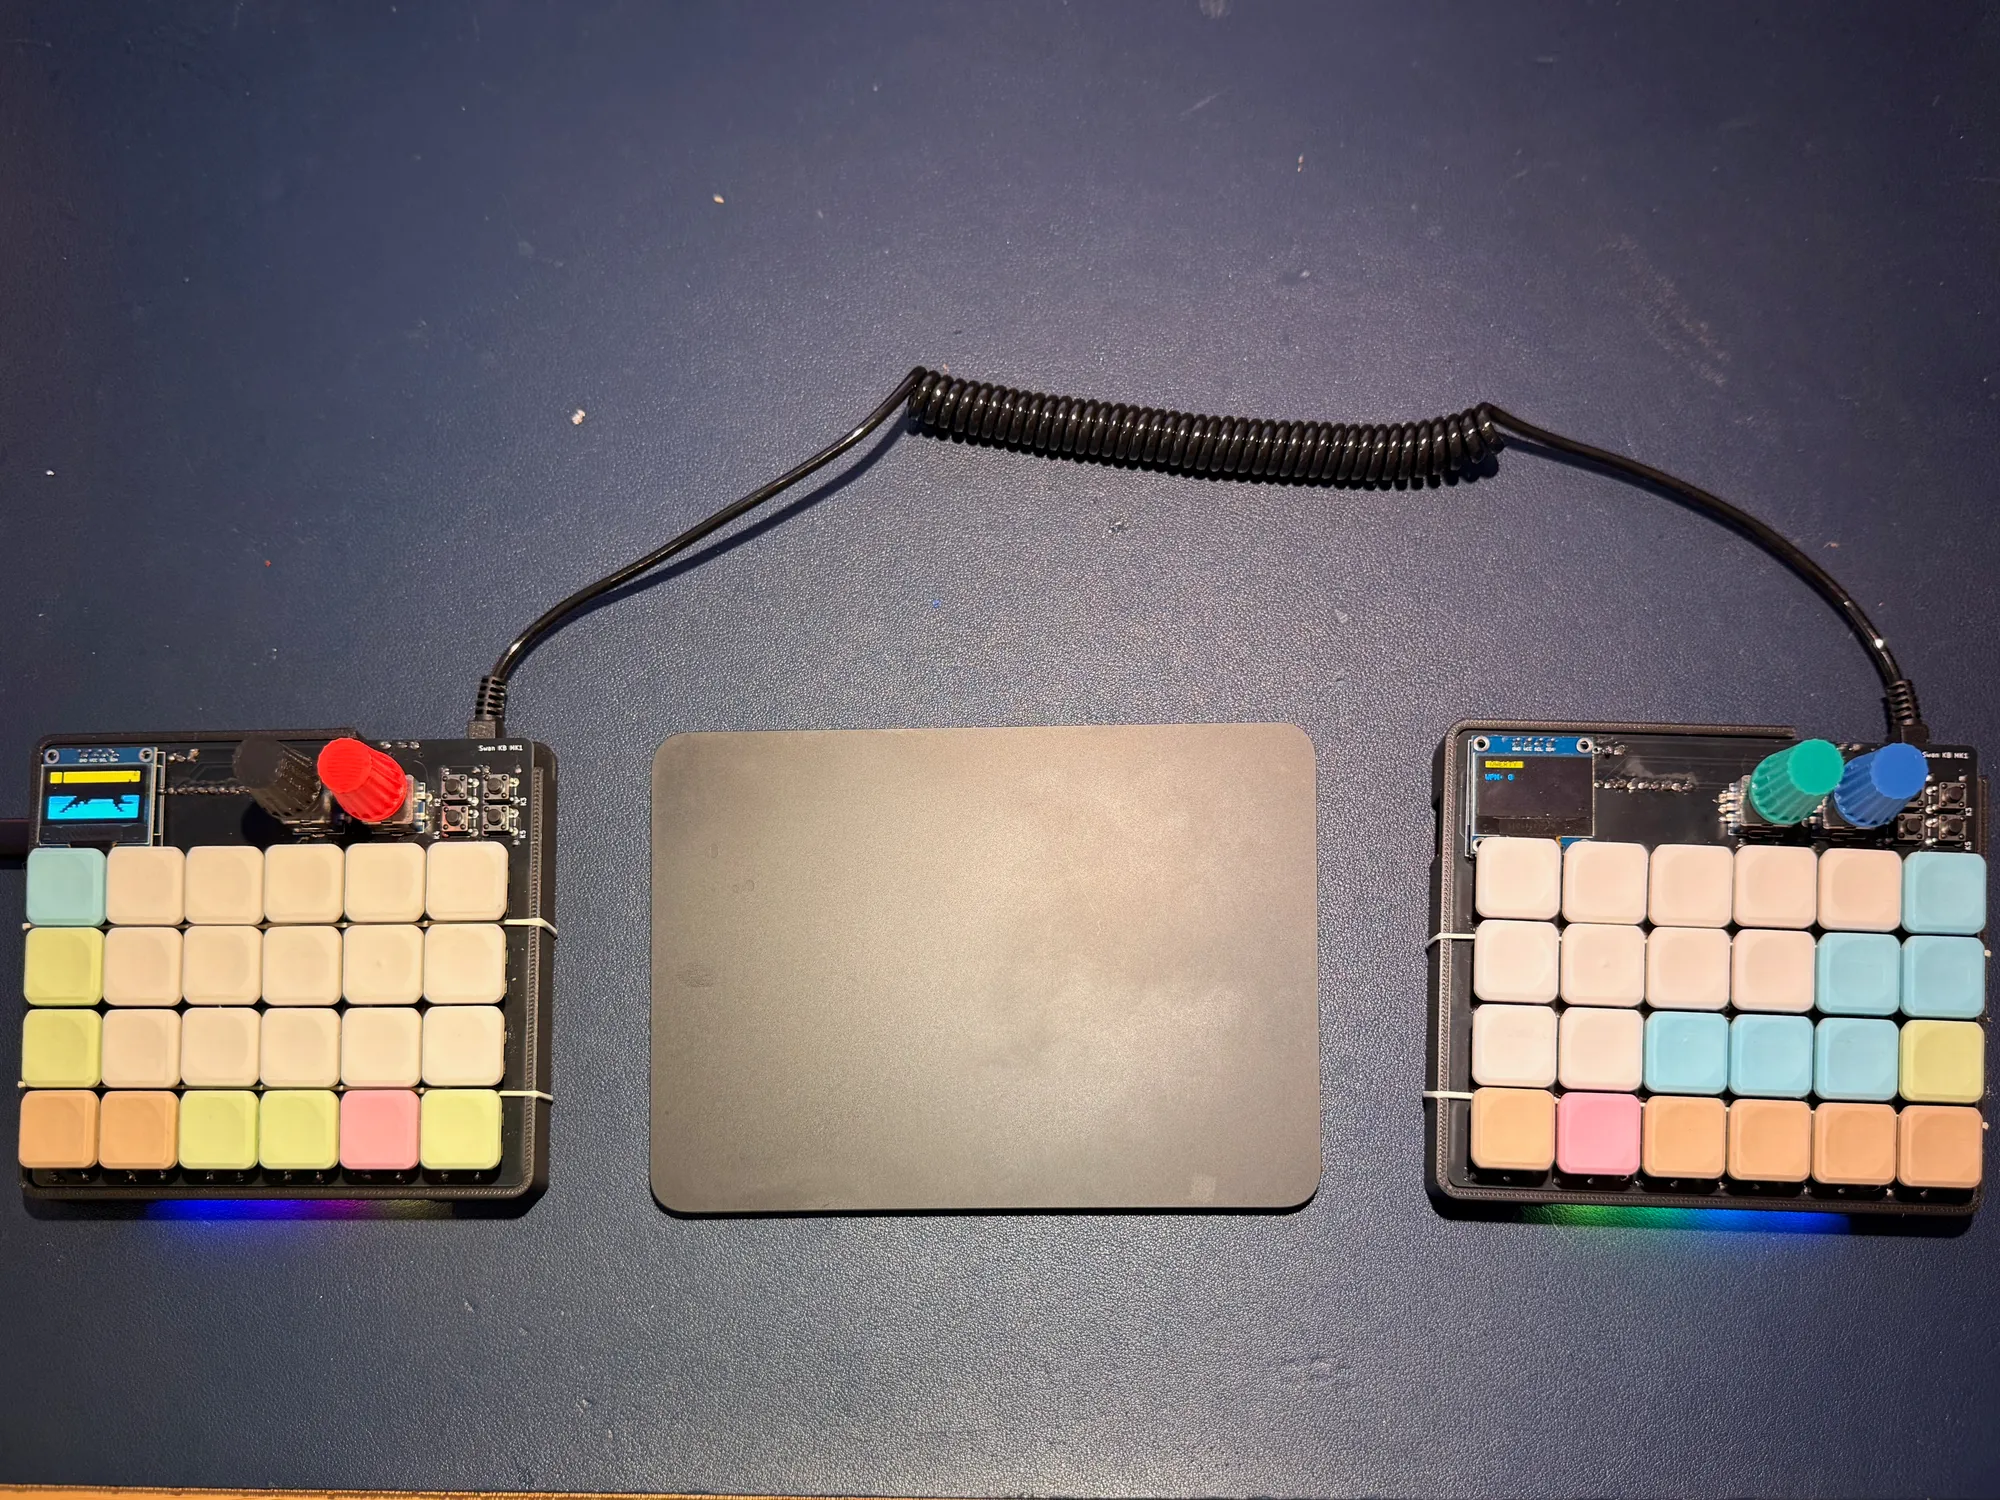
Pairing a split keyboard with a Magic Trackpad between the halves is my preferred setup.
Second iteration: column staggered and thumb cluster
I’m a big fan of the Voyager’s thumb cluster of keys. This is something I omitted from the MK1 as I didn’t think I’d miss it so much, but that was a mistake.
Also, the ortholinear layout looks cool, but it is not the most comfortable for typing. There’s a middle ground between the traditional staggered layout and the ortholinear one: column staggered. In this layout, the columns have a slight vertical offset, but the rows are still aligned. This to me enables the most optimal finger movement and is the most comfortable layout for typing.
For the Swan KB MK2, I decided to include the thumb cluster and to change the layout to column staggered. This board has even fewer keys, as the bottom 6 keys were converted into the 4-key thumb cluster, and I left one rotary encoder per side (two were too many).
For this board, I also decided to embed the microcontroller on the PCB – the MK1 had a slot to plug in a full microcontroller board onto it. I decided to use the RP2040 chip, which has an amazing reference implementation document.
Still, this was my second attempt at a PCB, and the first one in which I had to layout the full stack of microcontroller components. This was such a fun and educational experience!
I also made this board reversible instead of being the same on both sides. This means that the left and right halves are mirrored, which was an additional challenge when designing the PCB as I didn’t want to make two separate boards. The same board can be flipped around and used on either side.
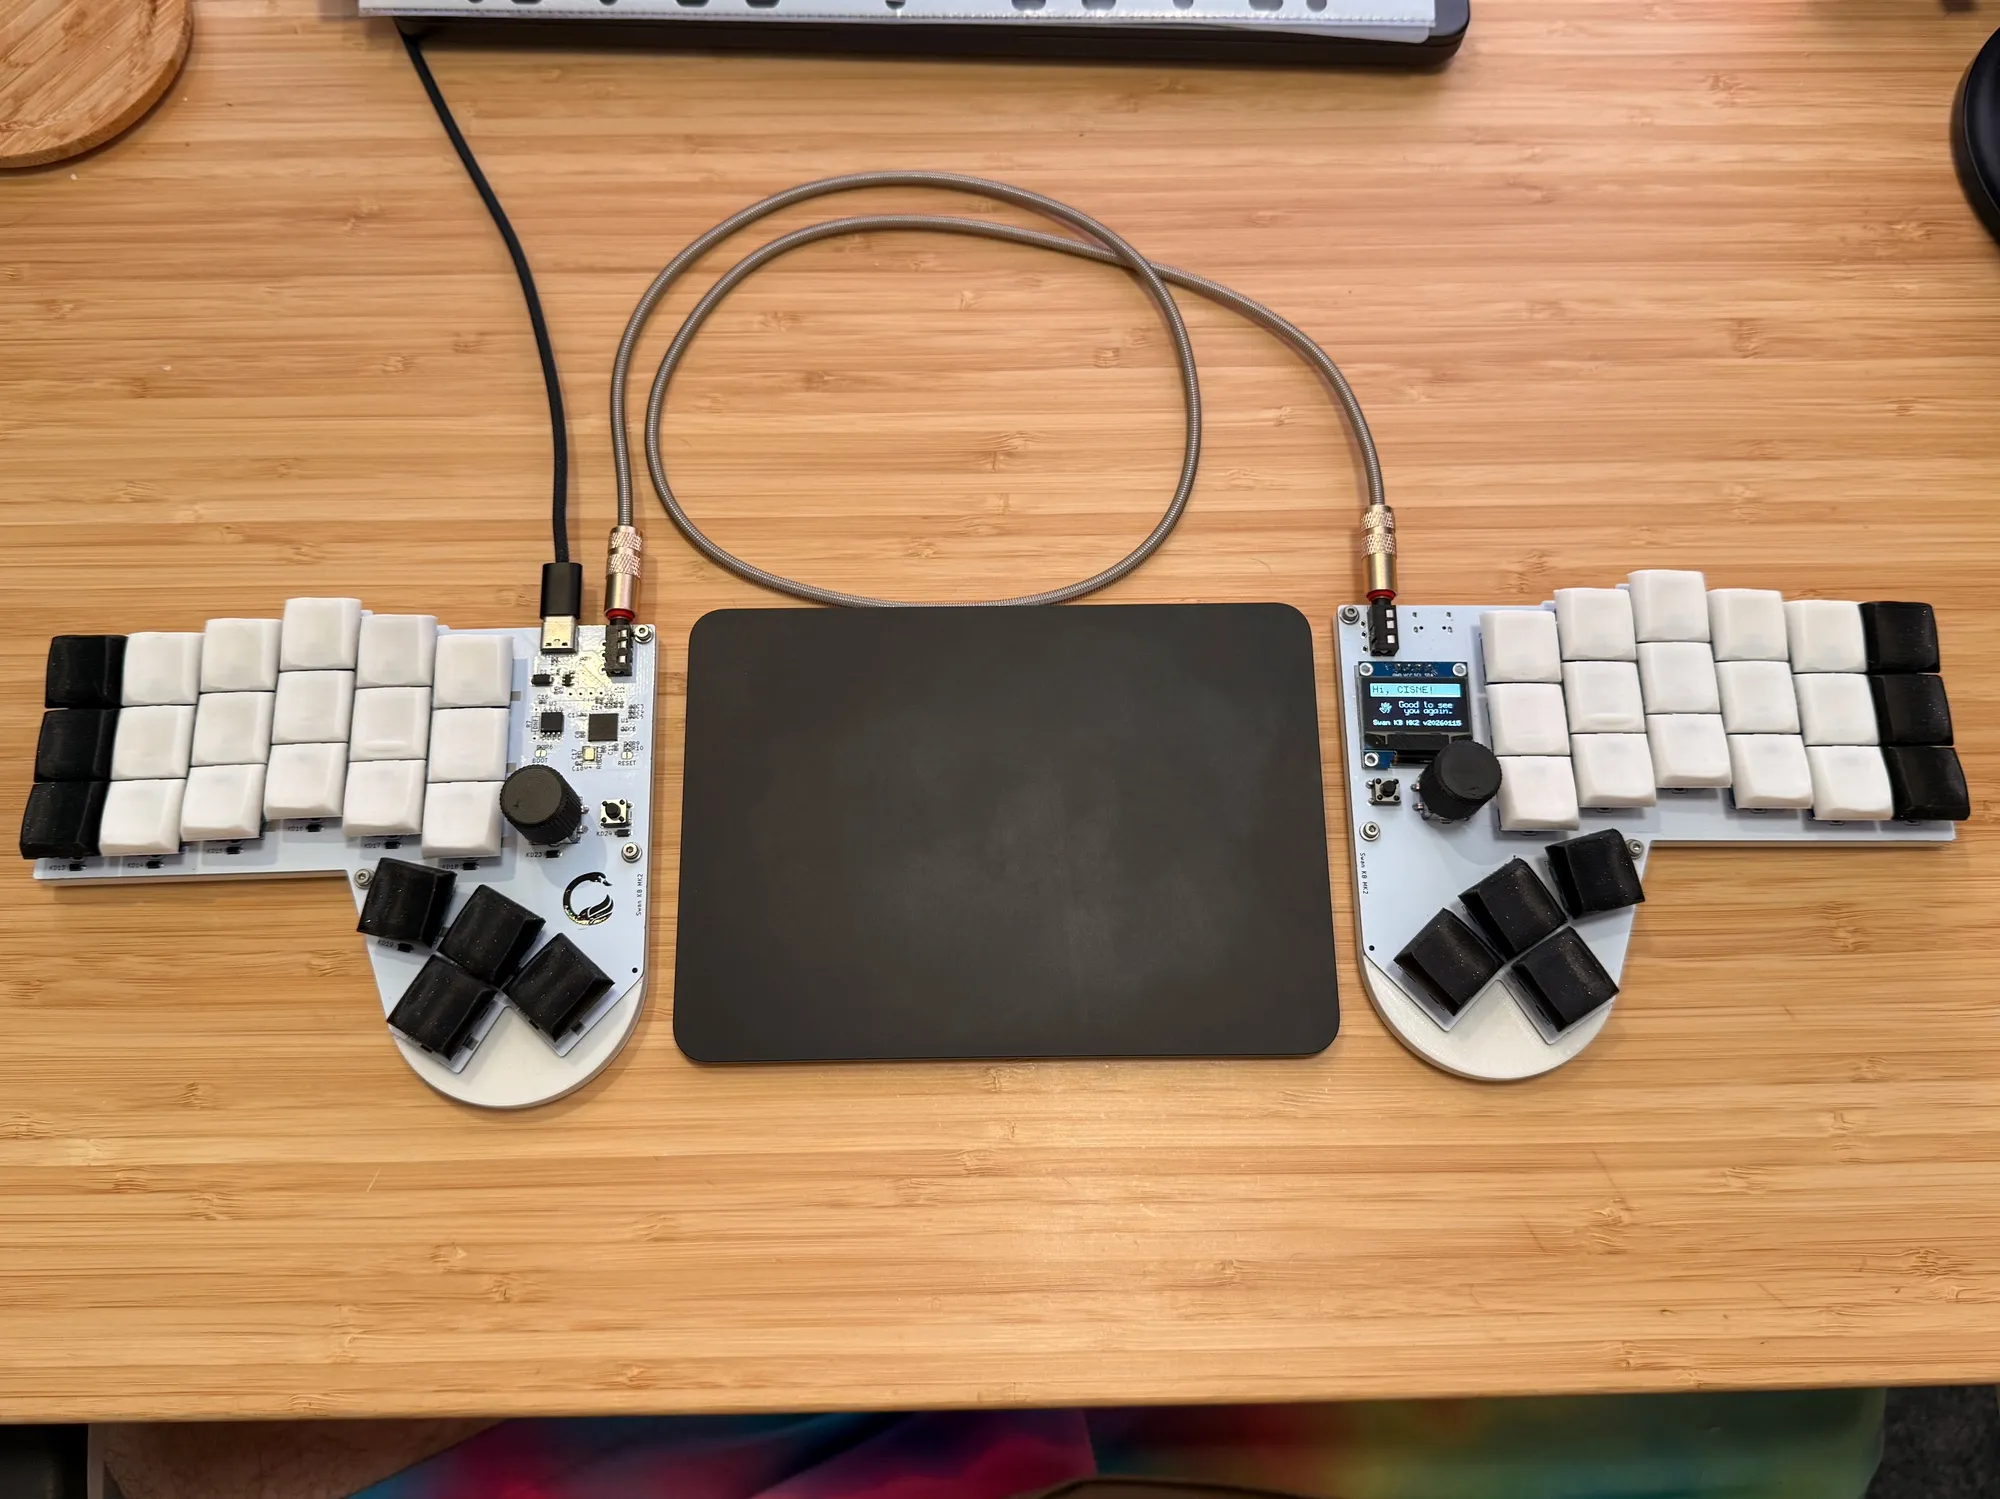
The second iteration in all of its glory. Now with all-new Chicago Steno keycaps.
My daily driver
The Swan KB MK2 has been my daily driver for months now. I love it. It isn’t perfect though, and I’m sure an MK3 is in the horizon. But nowhere near as soon as the MK2 had to be.
There are 2 units of the Swan KB MK2 in existence, as of this writing. One is on my desk as I type this, and the other is with Christina, to whom I made a custom version of the Swan KB MK2 in exchange for the coolest hand-knitted sweater I’ve ever owned!
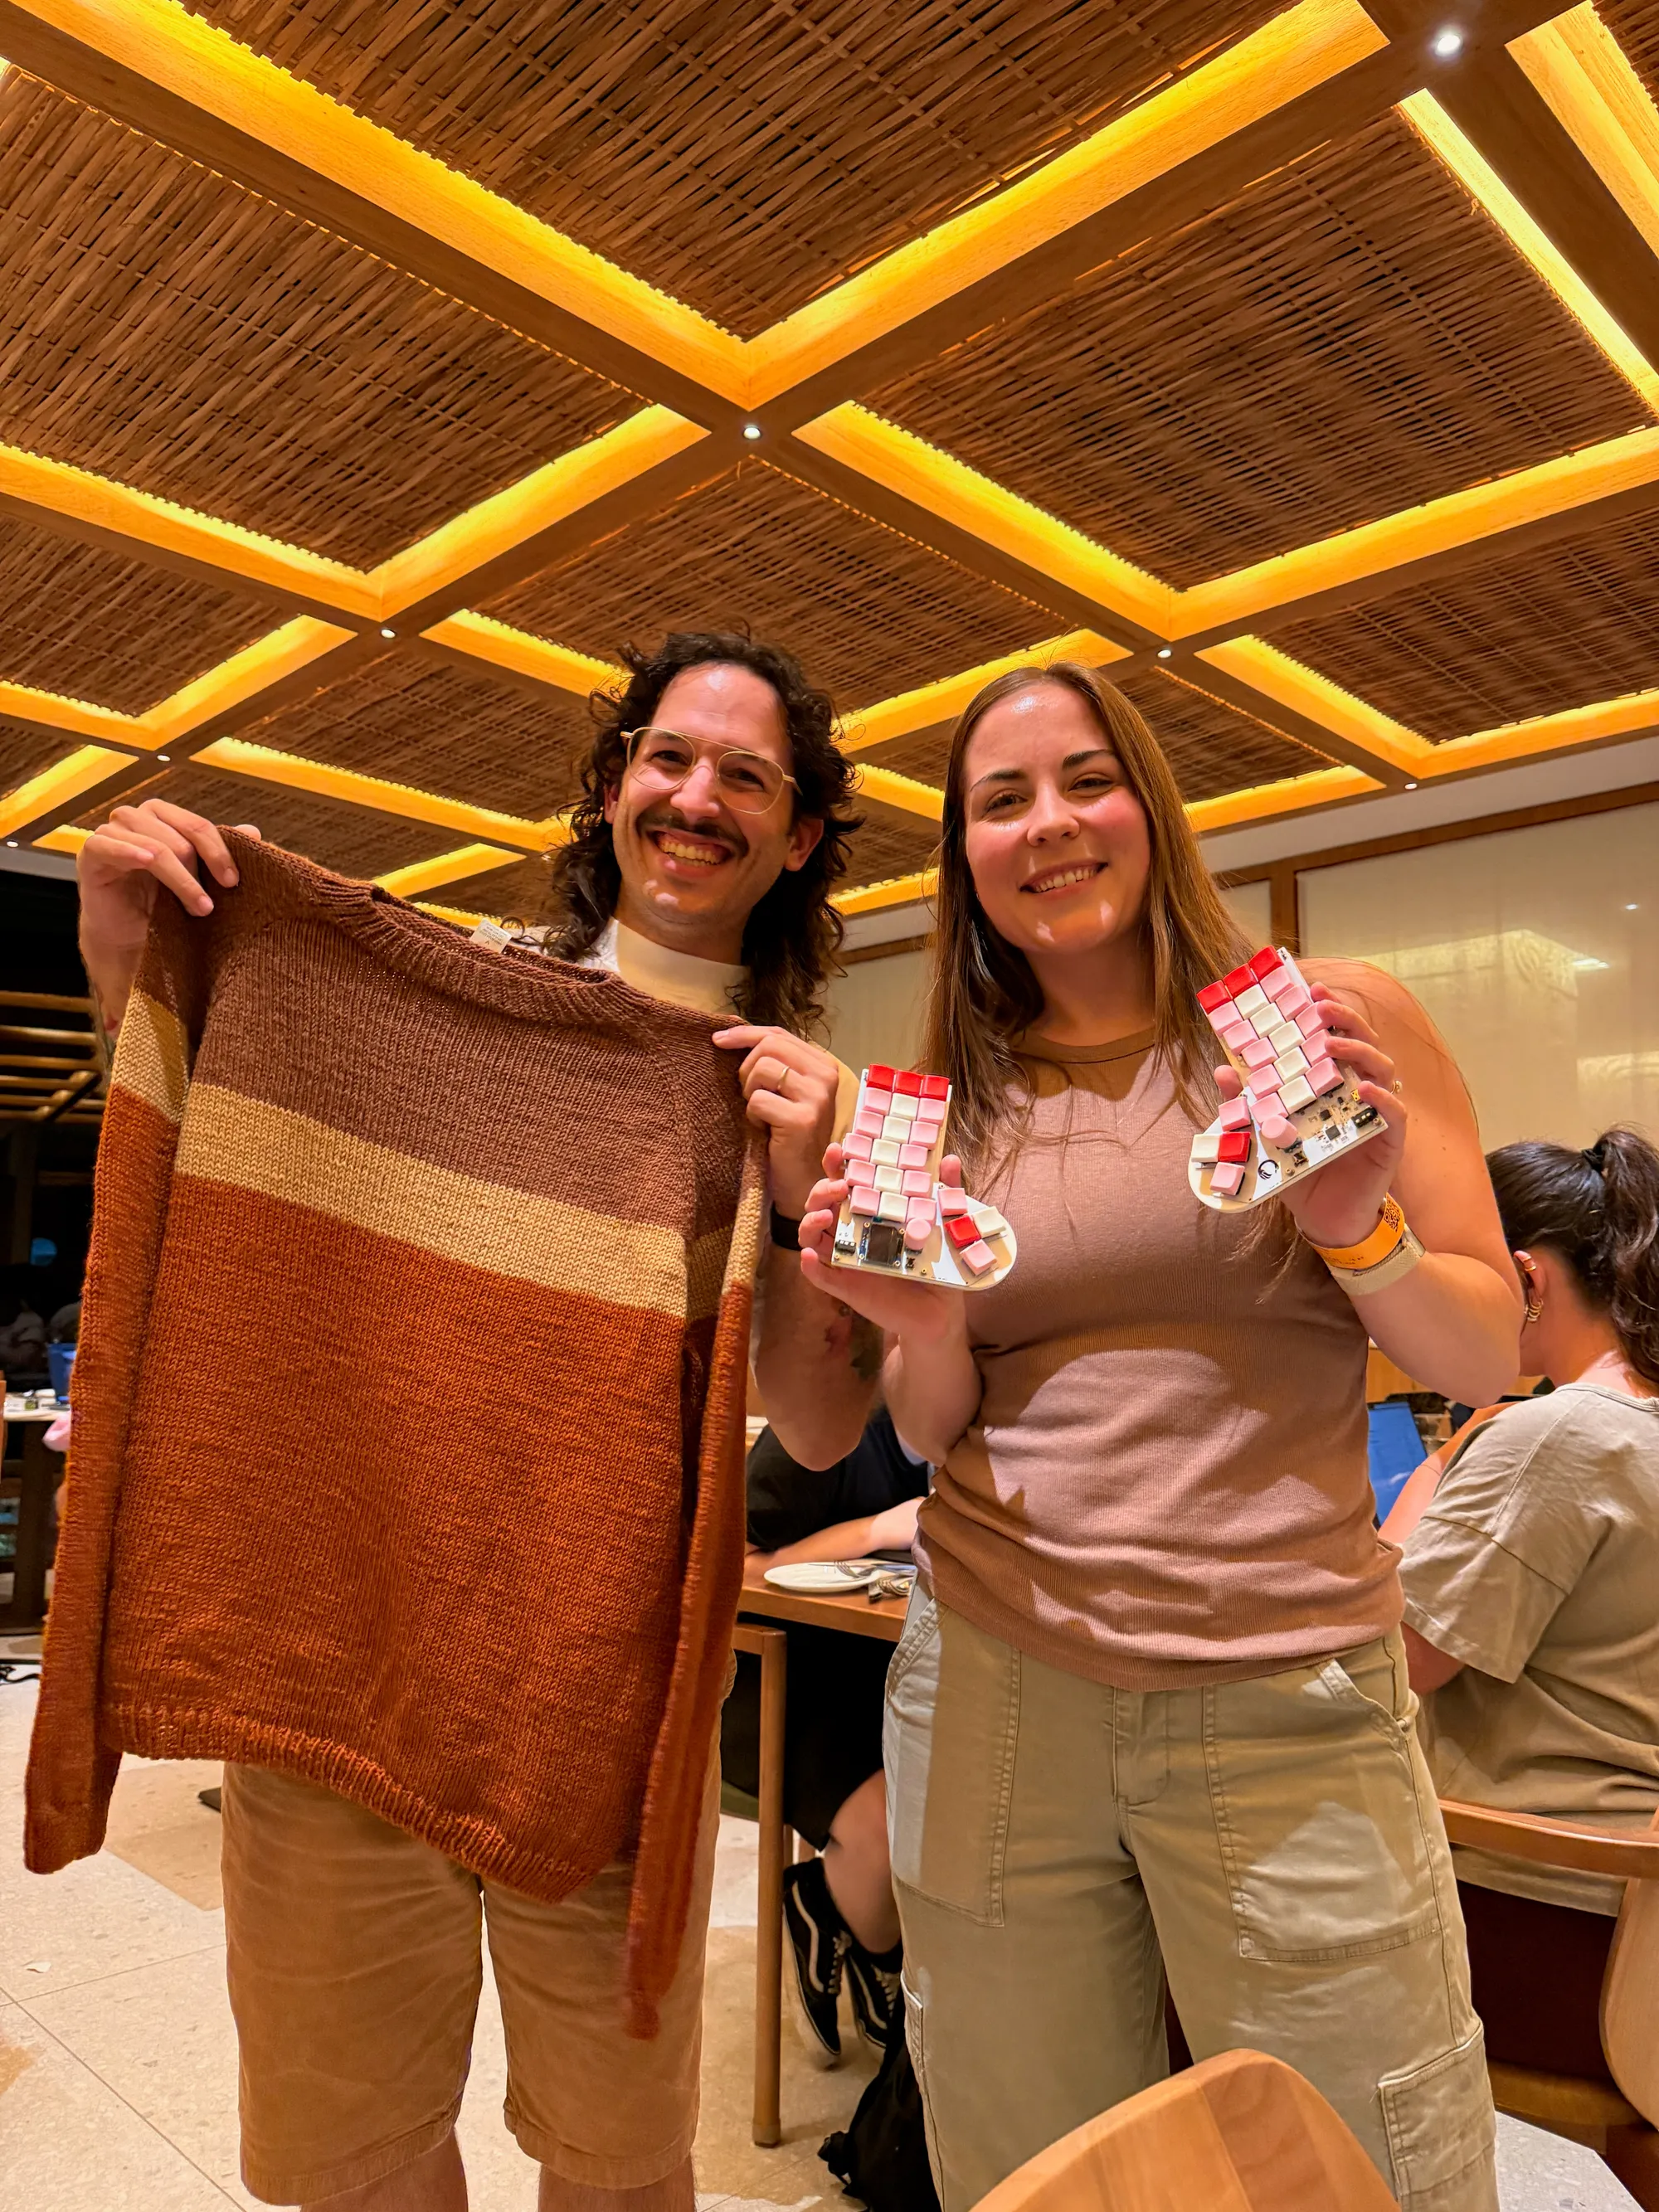
A keyboard made in Ireland and a hand-knitted sweater made in the US being exchanged in Brazil!